Create an Azure Enterprise Application for Simplelists
- Login to your Microsoft Azure Tenant https://portal.azure.com
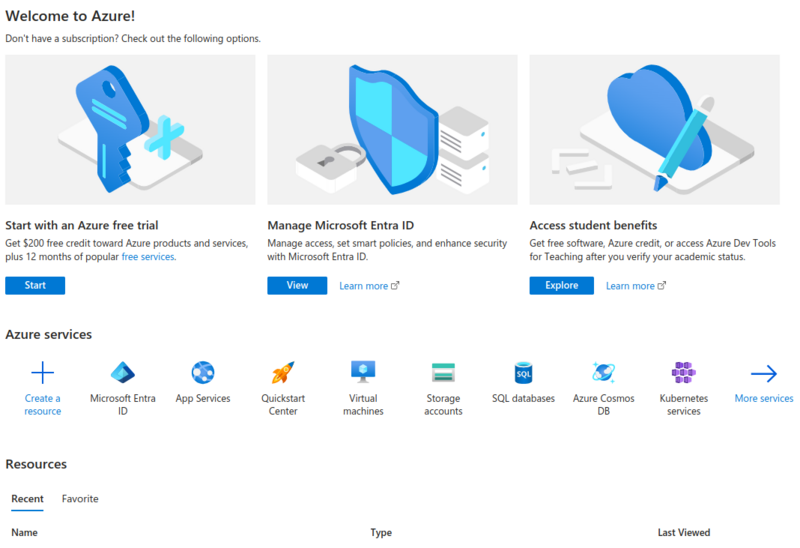
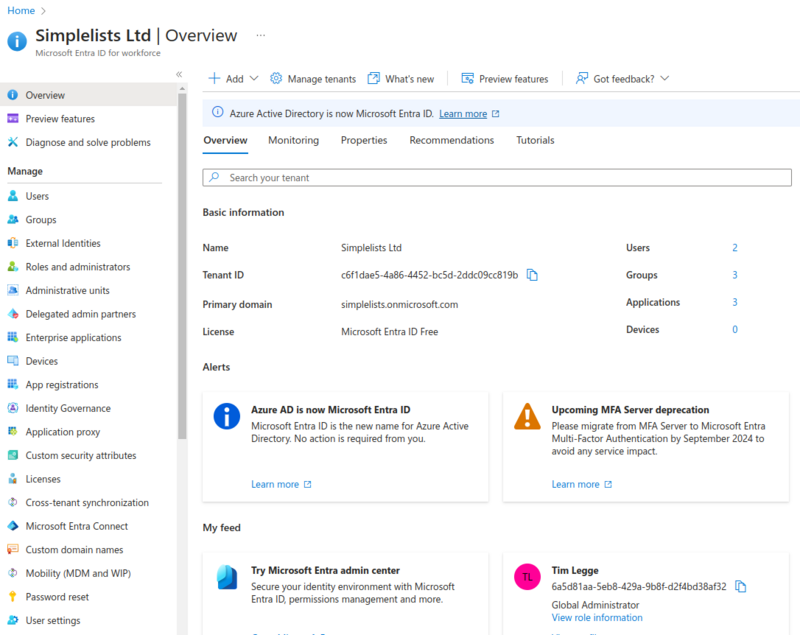
- Click View on Manage Microsoft Entra ID or click Microsoft Entra ID
Manage Azure Active Directory
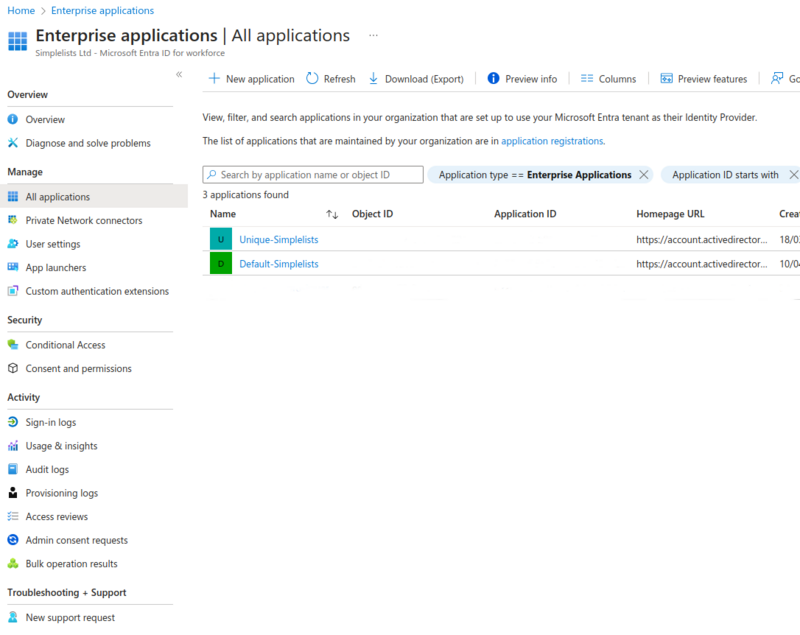
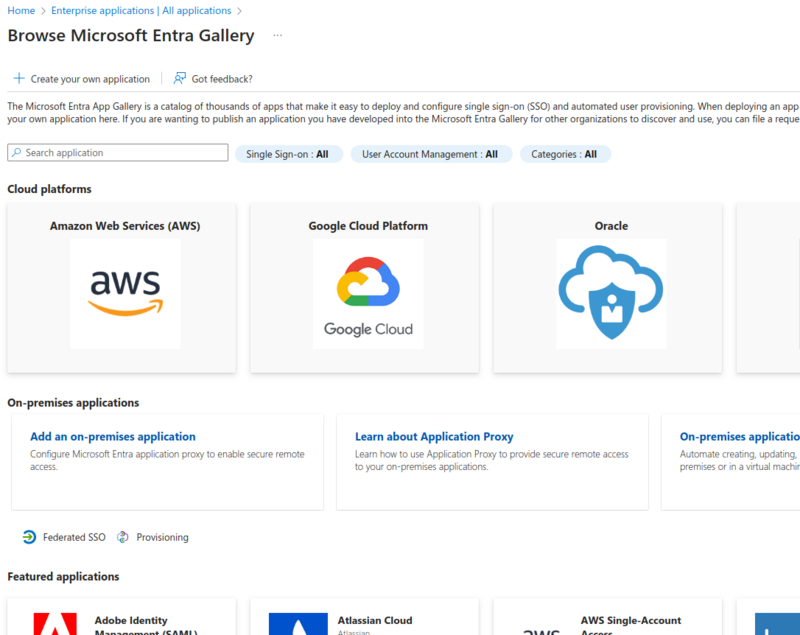
Create a new Enterprise Application
Create your own application
- Click Create your own application
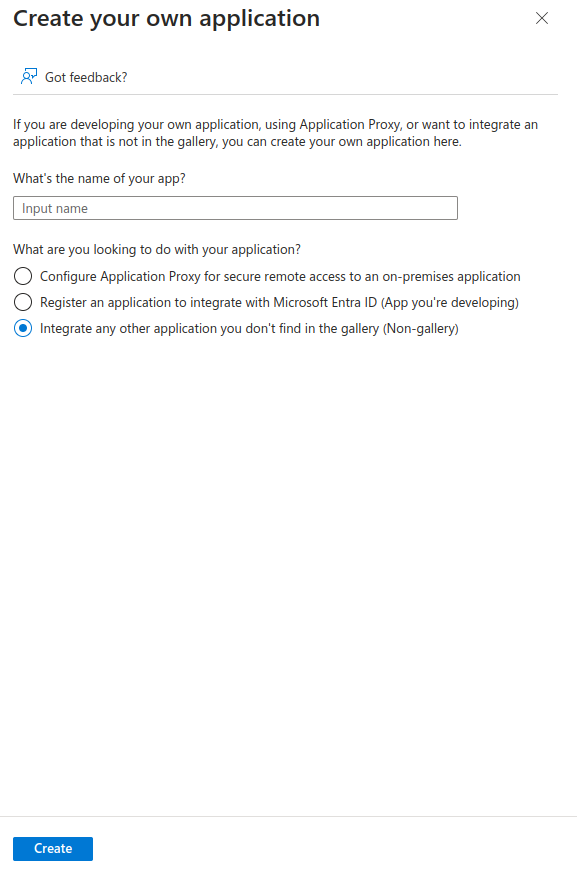
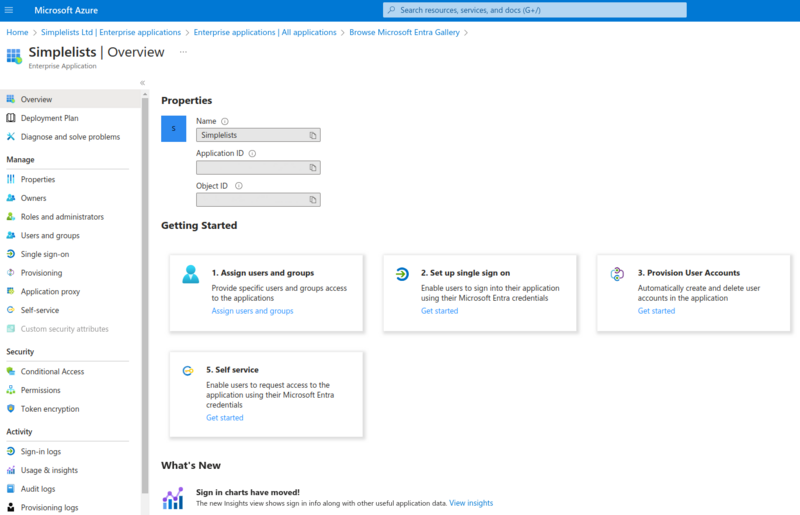
- Enter Application Details
- Enter the name of your app (Simplelists or other unique name)
- Select Integrate any other application you don’t find in the gallery (Non-gallery)
- Click Create
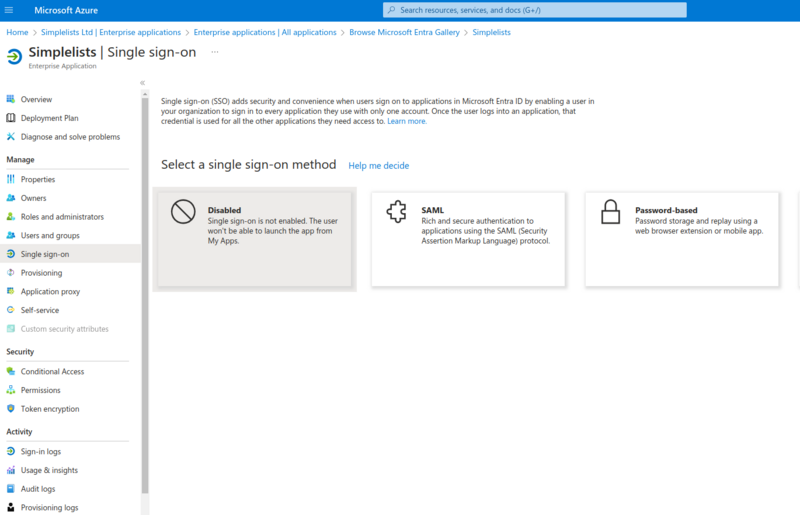
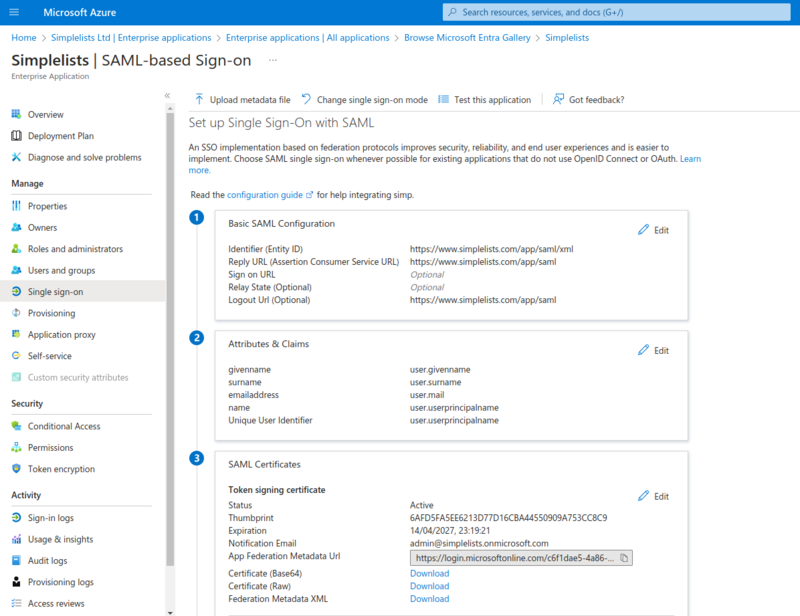
Setup single sign on
Select a single sign-on method
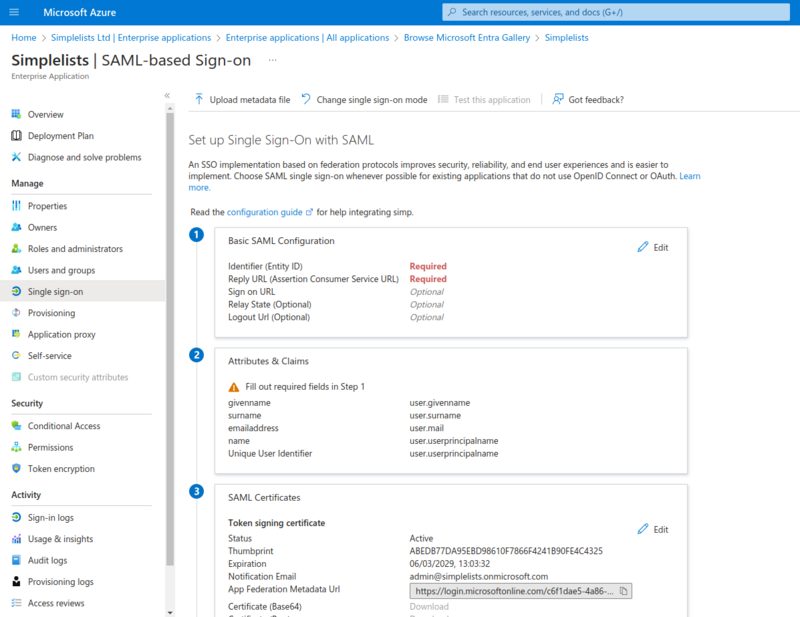
Set up Single Sign-On with SAML
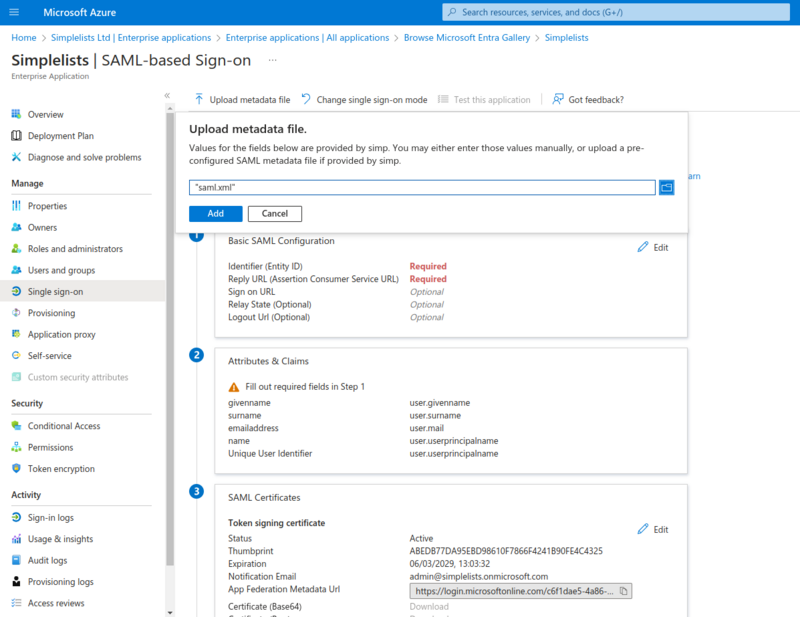
The metadata file referenced below is the saml.xml file that you can download from the Simplelists Authentication provider that is created using Configuring a SAML2 Authentication Provider
The metadata file will include most of the settings required. The RelayState value is also located on the Authentication Provider created as per Configuring a SAML2 Authentication Provider
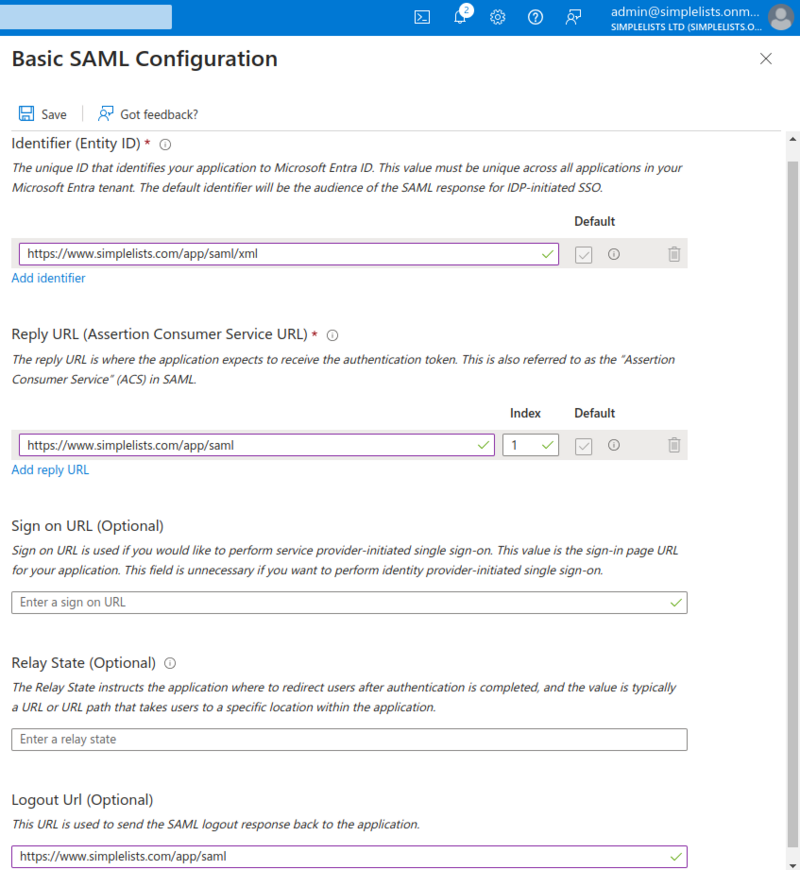
Verify Basic SAML Configuration that was uploaded
The RelayState is a value that Azure will pass to Simplelists when authentication is initiated from the Azure applications page. It must match the value in Simplelists, and can be found on the Authentication Provider created in Simplelists.
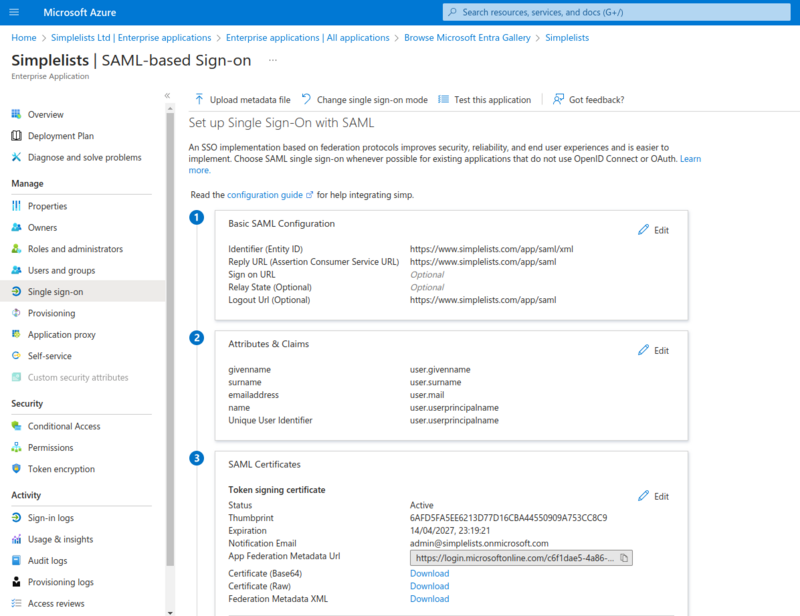
Download the Metadata and Certificate for Simplelists
Save each of these files to a location to upload the the Authentication Provider Settings of Simplelists.
- Click Download to the right of Certificate (Base64)
- Click Download to the right of Federation Metadata XML
Azure - Enable User Login
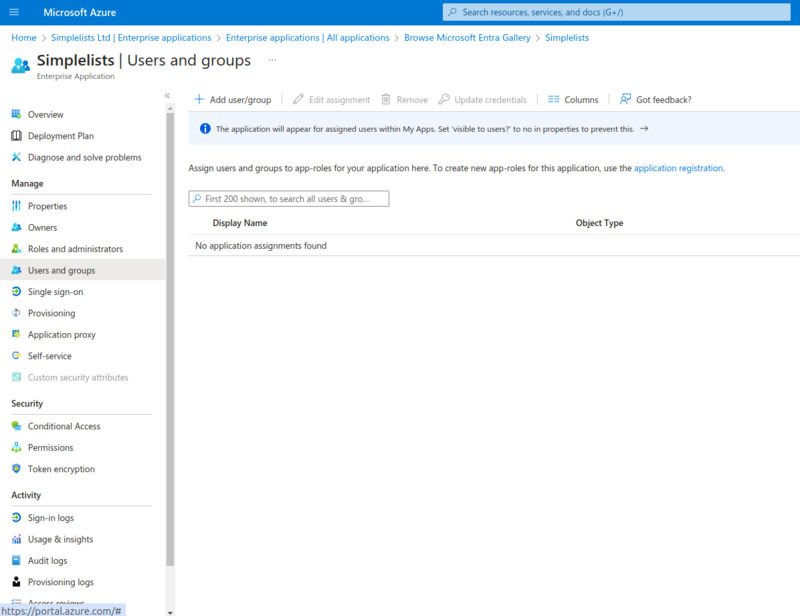
Depending on your Azure settings you may need to enable user log in for the Simplelists application in Azure.
Users and Groups
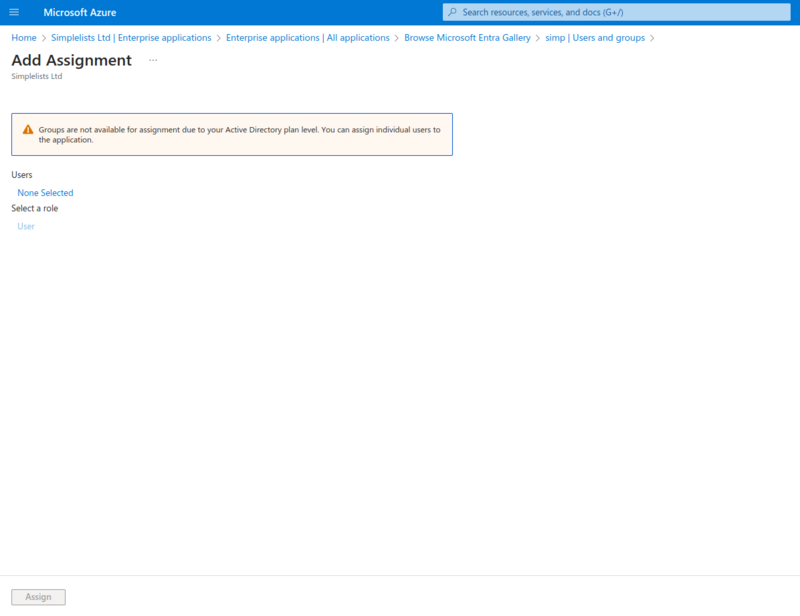
Add Assignment
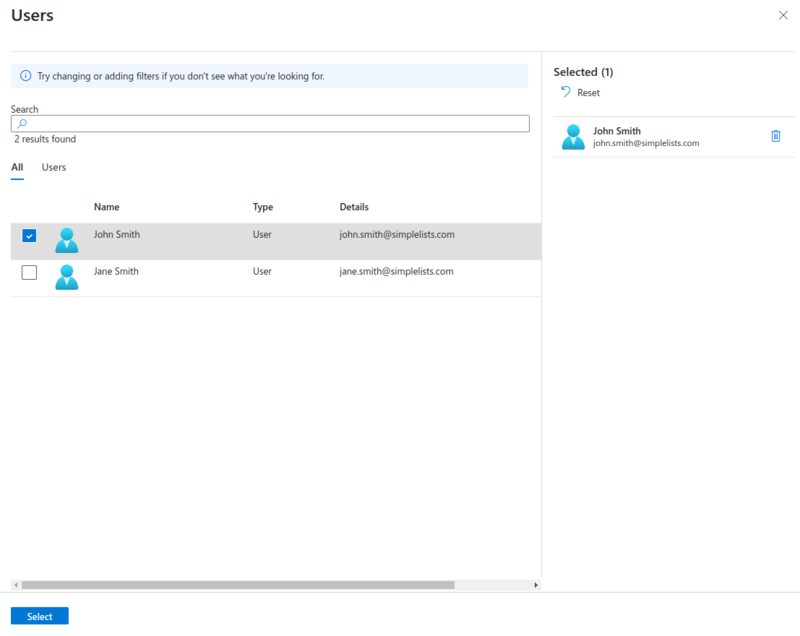
Users
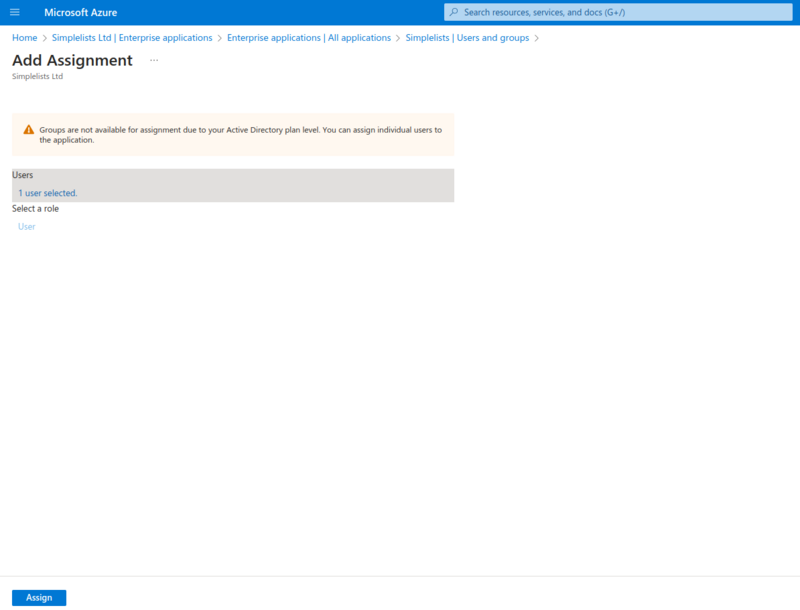
Add Assignment
Testing Login
Access the Simplelists page and click Login
If everything is correctly configured you will be presented with the Azure login page.
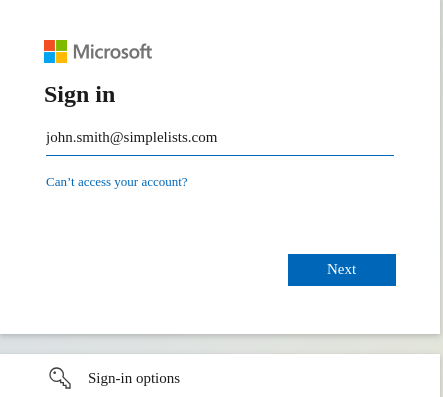
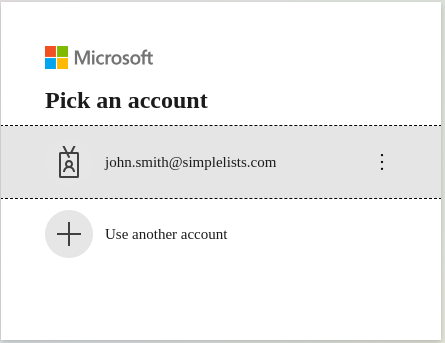
- Enter the "Email address, phone number or Skype" or pick the account from the list
- Click Next
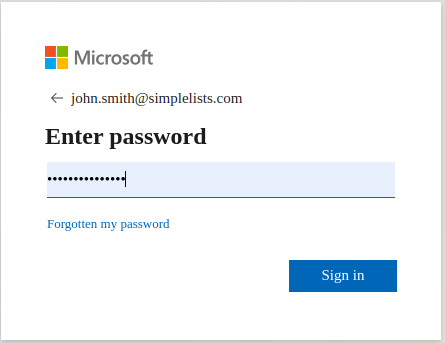
- Enter your password
- Click Sign In
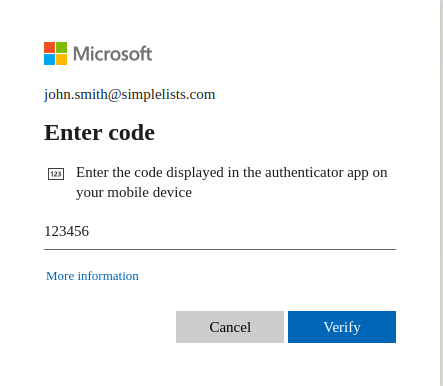
- You may need to enter your two factor authentication code (2FA)
- Click Verify
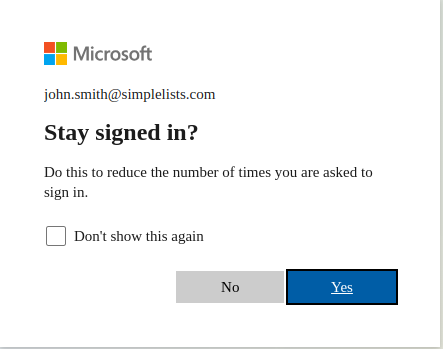
- Choose whether you want to stay logged in
- Click Yes or No
Azure Optional Configuration
Azure Verification certificate
Configuring a verification certificate requires Microsoft Entra (Azure) to verify that the SAML AuthnRequest was properly signed by Simplelists with the expected certificate.
This provides your application with a little additional security as only Simplelists can correctly authenticate but it does mean that login can ONLY be initiated from the Simplelists page. You cannot initiate login from the Microsoft Entra (Azure) application list.
Verification Certificates
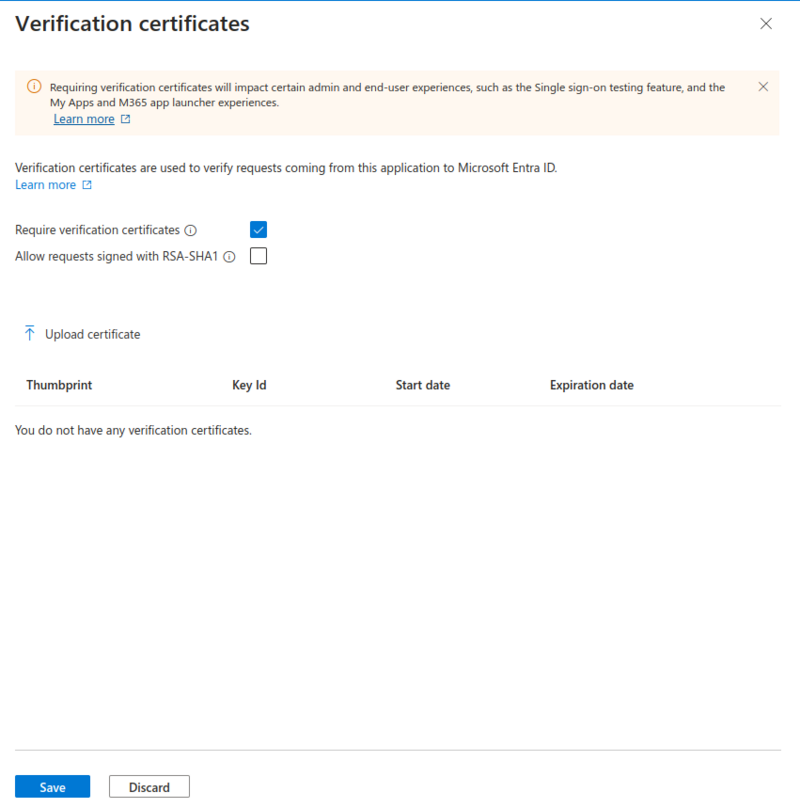
- Click Require verification certificates
- Click Upload certificate
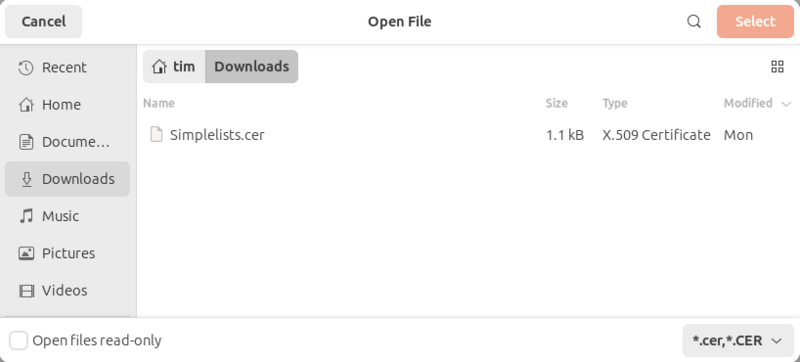
- Select the Simplelists signing certificate
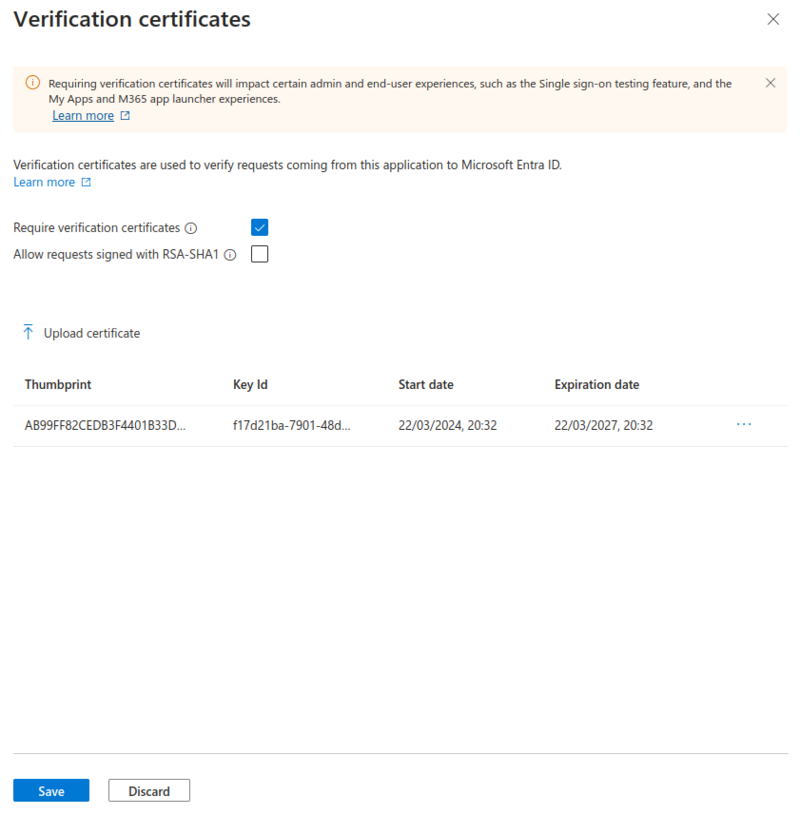
- Click Save
- Close the settings with the X.
Azure - Enable SAML Token Encryption (Optional)
SAML token encryption increases the security by fully encrypting the data sent from Azure to the web Application. The user will be unable to determine what data is in the Assertion. However, it also makes it difficult to troubleshoot because you cannot view the Assertion in the browser. Get everything else working first then decide if you want to implement this.
- Click Security from the left hand menu
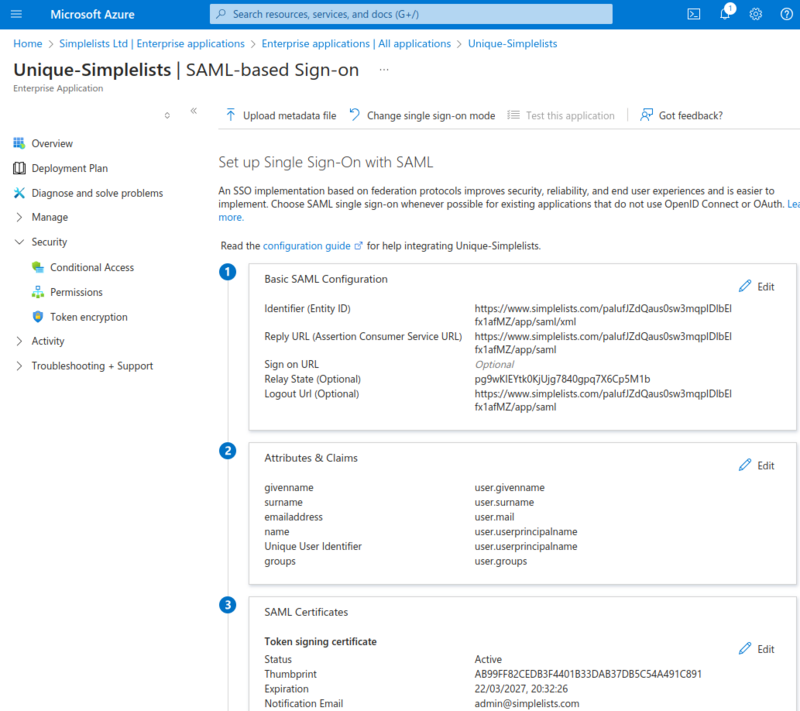
- Click Token Encryption
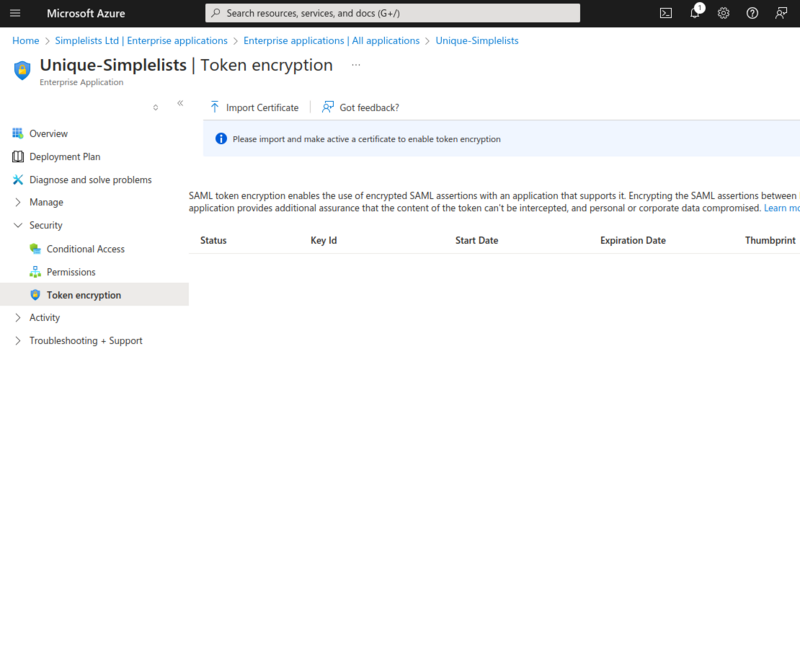
- Click Import Certificate
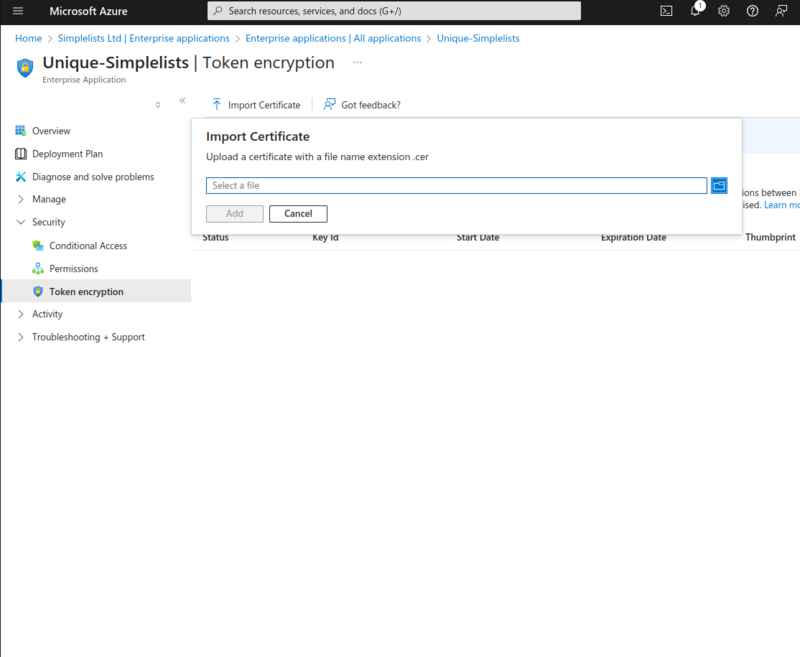
- Select the simplelists.cer file that you can download from the Authentication Settings in Simplelists
Activate the Encryption Certificate
- Click on the three dot at the right side of the certificate

- Click Activate Token Encryption Certificate
Encrypted Assertions are now enabled. However you will need to complete the next step to make it work correctly.
Sign the SAML response and Assertion (Optional)
This step is only required if you enabled token encryption.
Get everything else working first then decide if you want to implement this (and token encryption).
- Click Edit to the right of Token signing certificate
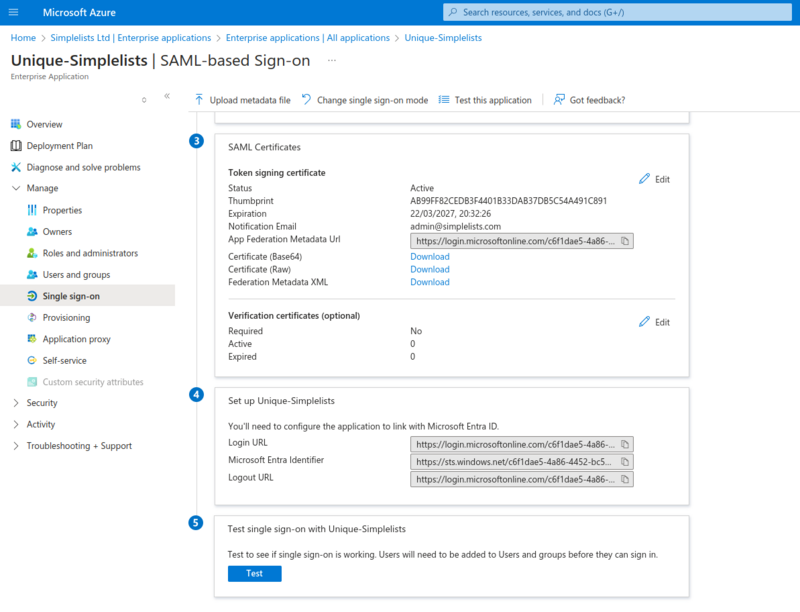
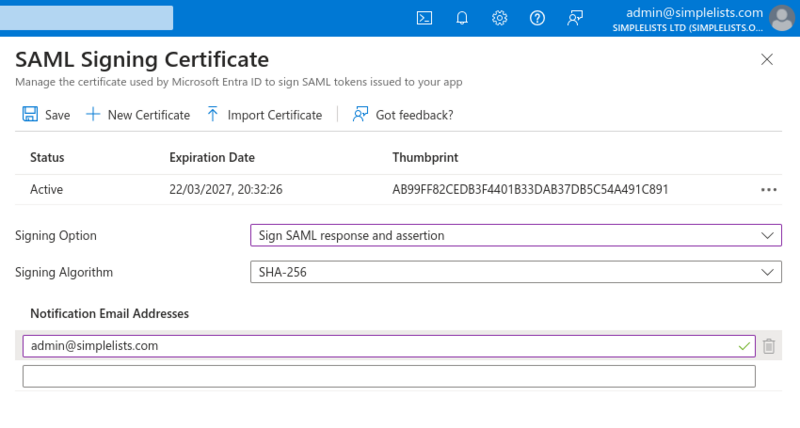
- Select Sign SAML response and assertion from the Signing Option drop-down
- Click Save
Enable Automatic user creation (Optional)
For IdP initiated login you can choose to have users automatically created. Simplelists uses “Automatic user creation groups” to assign user permissions.
Modify the Authentication Provider to add group
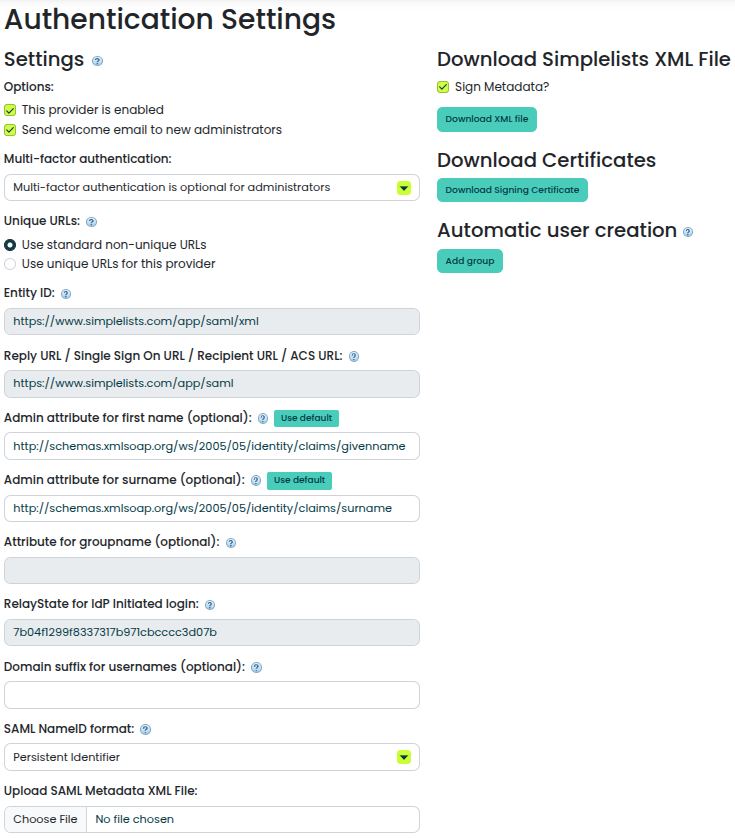
- Open the Authentication Settings that you created above
- Click Add group
Create the new Group
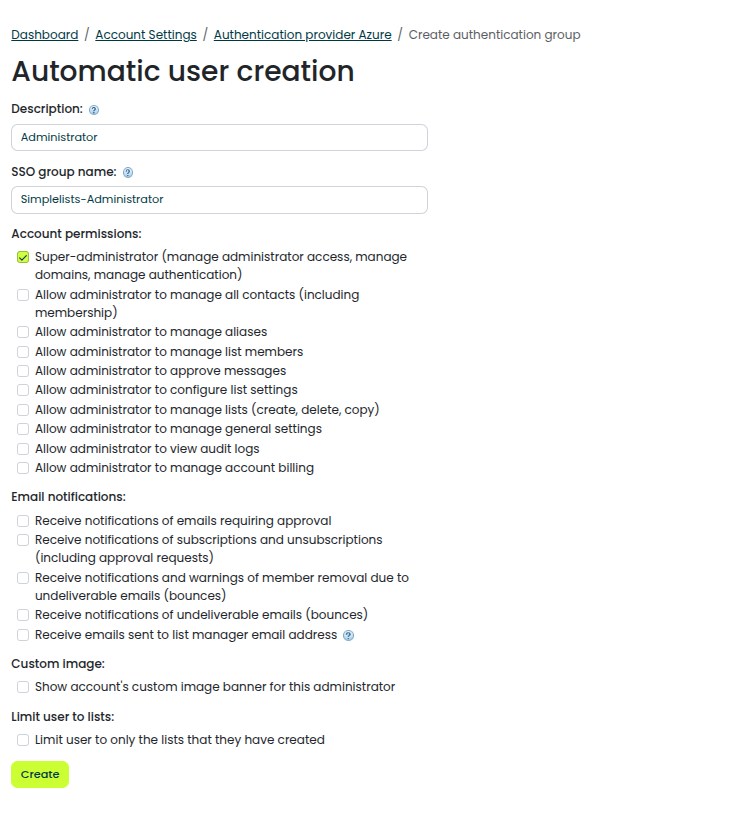
- Enter a free form description (It will appear on the Authentication Provider Page)
- Administrator
- Enter the SSO Group Name (that will be sent by Azure)
- SimpleLists-Administrator
- Select the Account Permissions
- Click Create
Note that the created groups are listed under the existing groups and show the description, not the SSO group name. The SSO group name (required to match Azure’s groups) can be viewed by clicking on the group name.
Enable SAML Groups
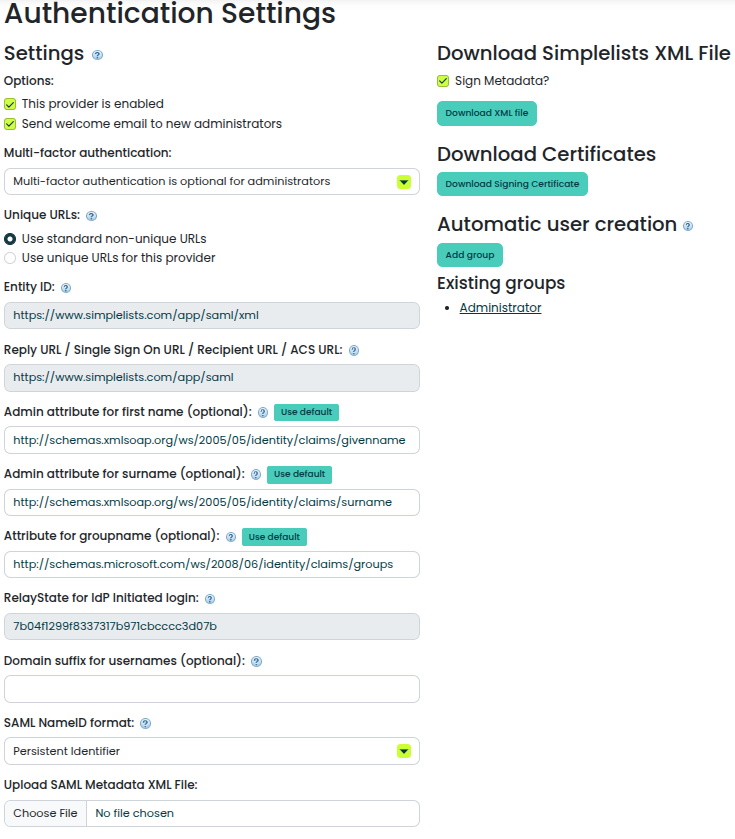
- Set the Attribute for groupname (optional)
- http://schemas.microsoft.com/ws/2008/06/identity/claims/groups
- Save the authentication provider
Note: The group attribute id might be different. It will need to match the attribute name in the SAML assertion.
Test login with a new user
At this point you can attempt to login to Simplelists from the IdP applications page. Select a user that is associated with the correct group (that does not already have a Simplelists account). The user should be automatically created.

