
Set up your own domain
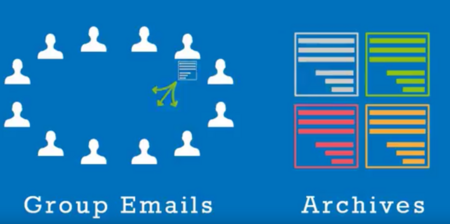
Archives are an easy way to keep a record of all emails that have been sent to your list. This can be very useful for groups that use Simplelists for private group discussion as new members can quickly become familiar with topics that have previously been covered. Everything that has been discussed can be seen and reviewed, like minutes of a meeting, and revisiting old topics can be streamlined by referencing the previous messages. In this short post, we tell you how to set up and personalise your email archive in Simplelists.

When you send an email to your list, it is likely that your message will contain a link to a webpage for your members to read more or visit a particular website. It’s important to make sure that the page they click through to (the landing page) looks right and does what you need it to. One important thing, particularly if you are using Simplelists for email marketing campaigns, is to ensure that your readers see your own branding/logo when they click through. In this short post, we tell you how to customise the landing pages that are automatically generated by Simplelists, which your readers will see when subscribing or unsubscribing, or visiting email archives.

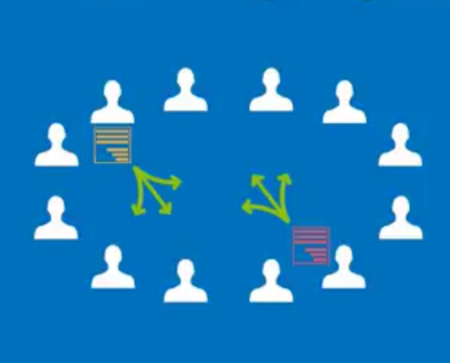
A daily digest summary is an email containing a compilation of new emails sent by members of a list. This can be a handy function to avoid clogging up members’ inboxes, reducing the number of emails they have to scan each day. To receive an email digest, members will need to opt to receive it. In this short post, we explain how to set up daily digest summaries with Simplelists.
Getting started
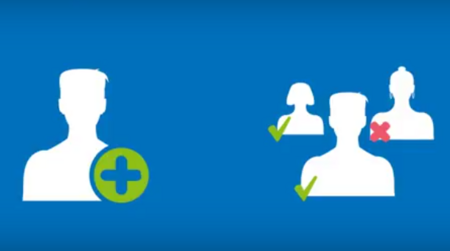
It is possible to allow other people to manage your Simplelists account. This useful feature enables you to delegate management of your email lists, share the workload and save time. You can set permissions for each new user and you don’t have to give all users full control over your account. For example, a user can be allowed to approve messages and manage list members, but prevented from changing account settings. The ability to add delegated users means you’ll never need to share login details, which helps keep your account secure. New users can be added at any time, enabling easy expansion of your email management system as your organisation or business grows. If you’re making use of the Simplelists API, you can also add API users to your account. They can be added with either ‘read only’ or ‘full’ permissions.

Before delving into writing HTML code for your bespoke design email, it’s a good idea to spend a few minutes doing some planning first. Don’t think of this stage as wasted time - it is more likely to be the opposite - saving you time in the long run as you will know exactly what you are aiming for before starting. A well-planned email is also likely to be a success, especially if you are using the email for marketing purposes.
Email addresses can be difficult to remember, resulting in mistakes when people send you an email. An alias can be used to make a straightforward replacement for a long or hard-to-remember address. An alias can also be used to forward messages sent to the alias on to another specified email address or group of addresses.

We have just completed the final video in our HTML emails series which takes you through everything from designing your email, to writing the code for responsive emails and finally to testing and sending the email. Here are all six parts of the series:

In Part 5 in our video series on creating HTML emails we show you how to add images to the email.

In Part 4 of our video series on creating HTML emails we show you how to add text to the email using tables and also style the text using inline CSS.

We are in the process of making a short video series: 'How To Create HTML Emails’. Part 3 of the series takes you through the HTML which can be used as a starting point when writing the code. We’ve included the code here so that you can copy and paste it if you want to get started making an HTML email quickly: