
For universities, law firms, associations, and professional organizations, email is rarely just a communication tool. It is part of your operating record. Policy announcements, governance updates, alumni newsletters, member notices, and client alerts all go out via mailing lists.

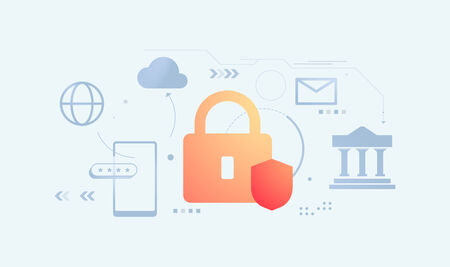
Email is still one of the most common ways you communicate with colleagues, clients, and members. But when messages contain personal data, financial information, legal material, or internal discussions, an important question arises: is email secure for sensitive data?

You should clean your email list at least every three to six months — quarterly for most organizations. The right frequency depends on your list size, sending cadence, and how quickly membership changes.

Authenticated Received Chain (ARC) is an email authentication protocol that preserves verification results when messages pass through intermediate servers like mailing lists or forwarding services.

Email remains a core communication channel for universities, legal firms, associations, and other institutions. It is reliable, widely understood, and deeply embedded in day-to-day operations.
For many organizations, the highest-risk emails are not one-to-one messages. They are the messages sent to groups: policy updates, legal notices, member communications, and operational alerts that reach hundreds or thousands of people at once.

If you run an email list for an institution, your privacy policy is doing more work than you might expect. It is not just there to satisfy a legal requirement. It is the document people turn to when they want to understand how your email system really behaves.

When managed correctly, email marketing can be a key part of any cross-channel marketing strategy and is often one of the most effective channels for generating a strong ROI.

If you regularly need to contact a large group of people, whether it’s school staff, parents, club members, or colleagues, finding the best email services to send bulk email is essential.
Email marketing can be a powerful channel for business growth.

Email remains the foundation of most organizational communication.

Mass emailing once meant blasting the same message to thousands of people and hoping for the best. Those days are long gone. In 2025, mass email services have evolved into intelligent communication platforms built on segmentation, personalization, and automation.